

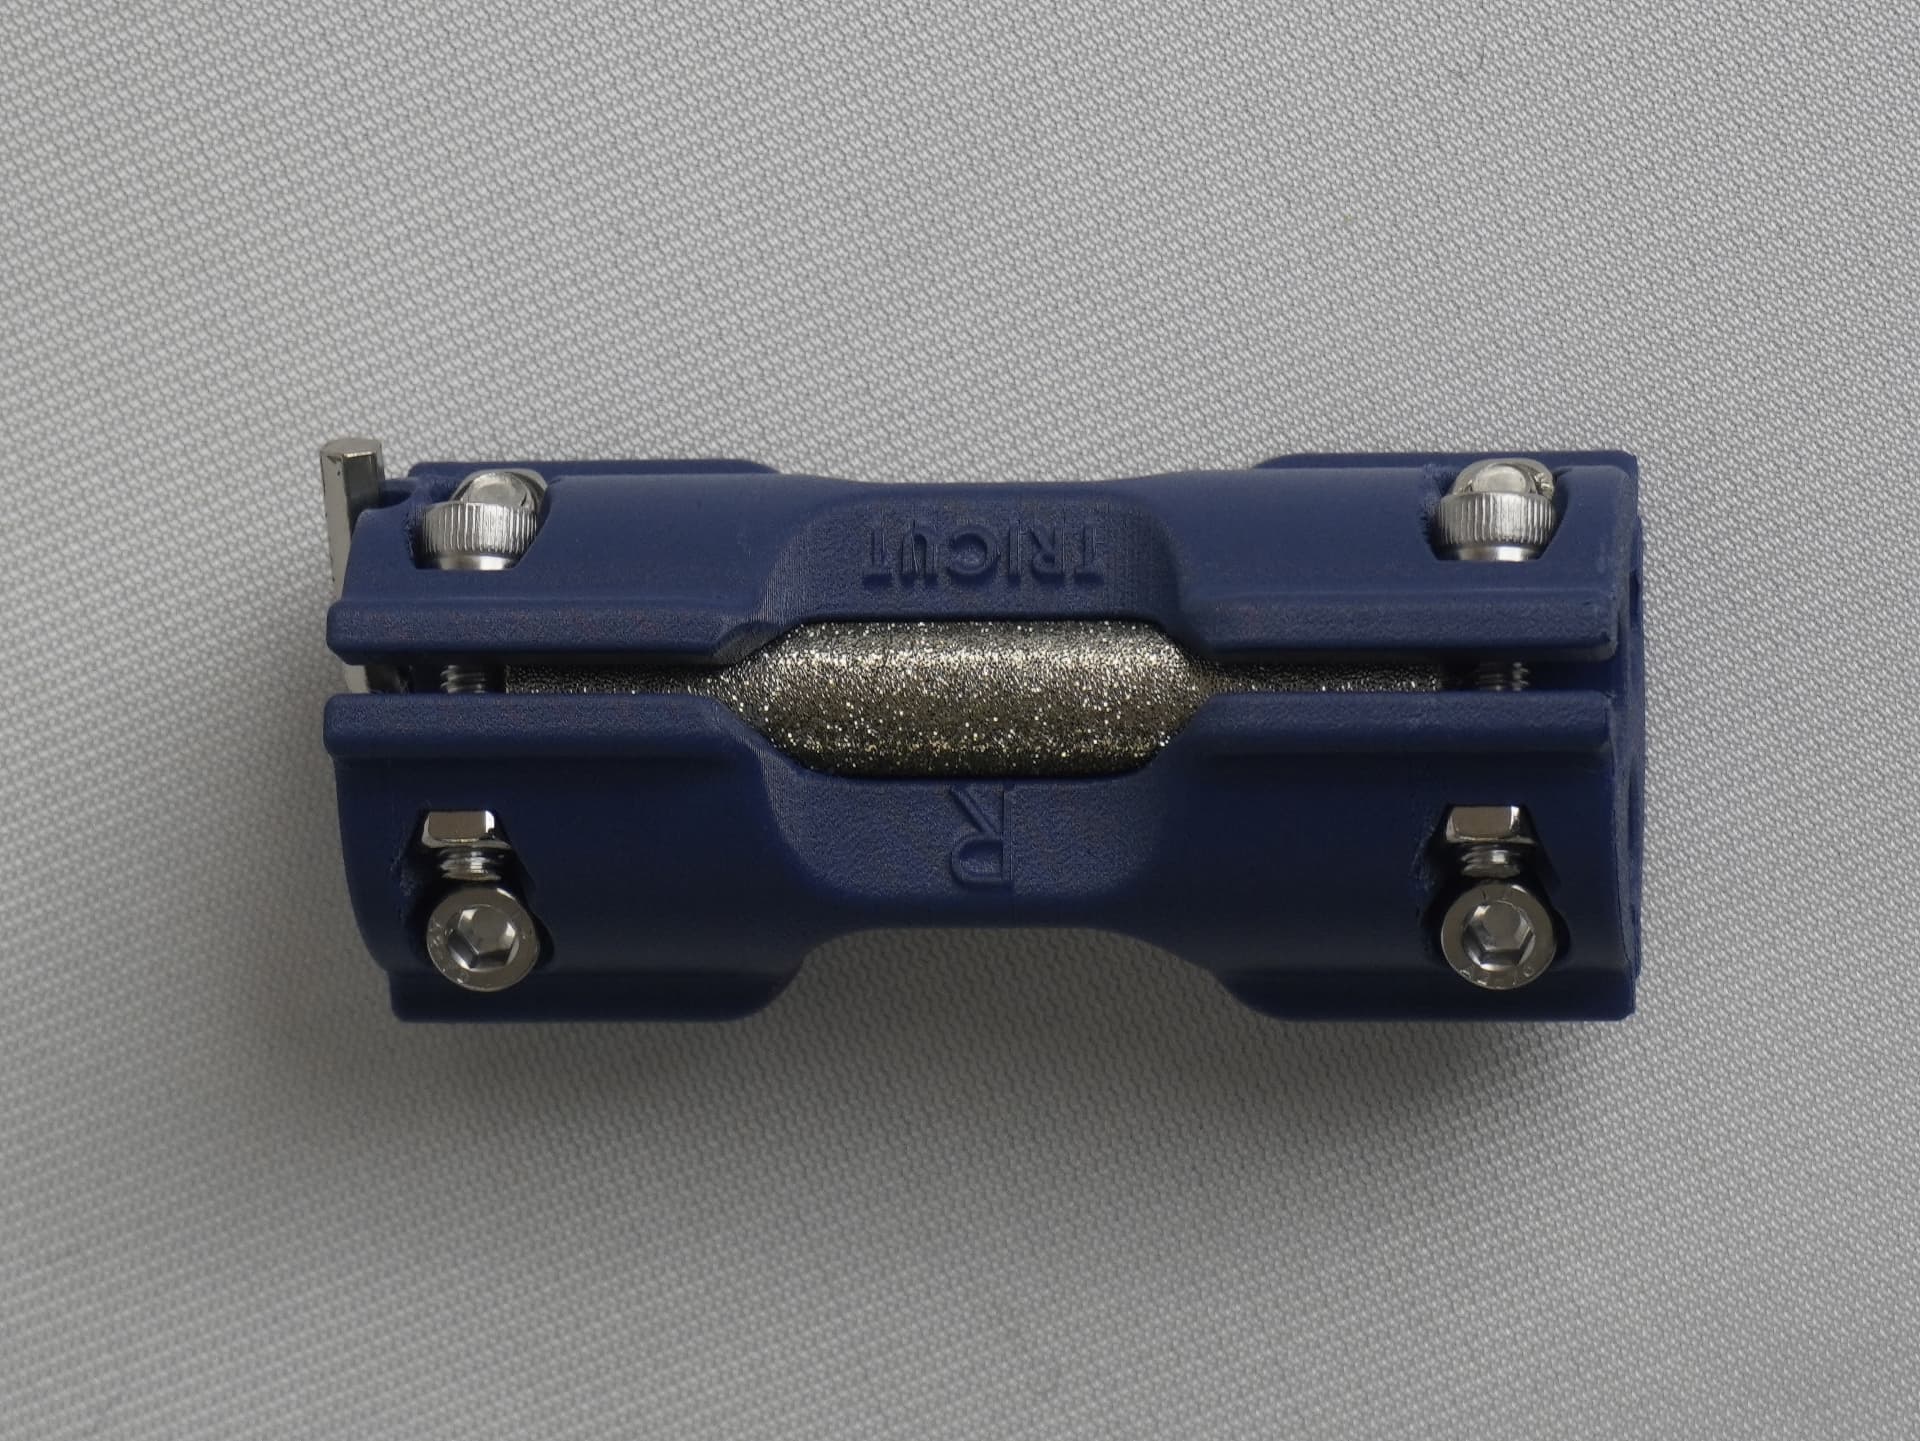
How it works

Rough it. Smooth it. Polish it.

A shop machine cuts a hollow, cleans up the grind marks, then finishes the surface. Tri-Cut does the same three jobs with three abrasive sides, marked R, S and P, clamped onto the blade by hand.

Pick your edge

Two blades. Two worlds. Choose wisely.

A figure blade and a hockey blade want completely different things from the ice. Use the wrong hollow and you'll either skid where you should grip or stick where you should glide. Pick the sharpener built for your skates.

VS
Tri-Cut hockey skate sharpenerHockey · 7/16" ROH

Tricut Hockey Skate Sharpener

For hard stops, quick starts and tight corners.

A deeper 7/16" hollow bites into the ice so every crossover catches and every stop sprays snow. Choose this for game speed, quick turns and the confidence to lean into every corner.

Shop the hockey sharpener
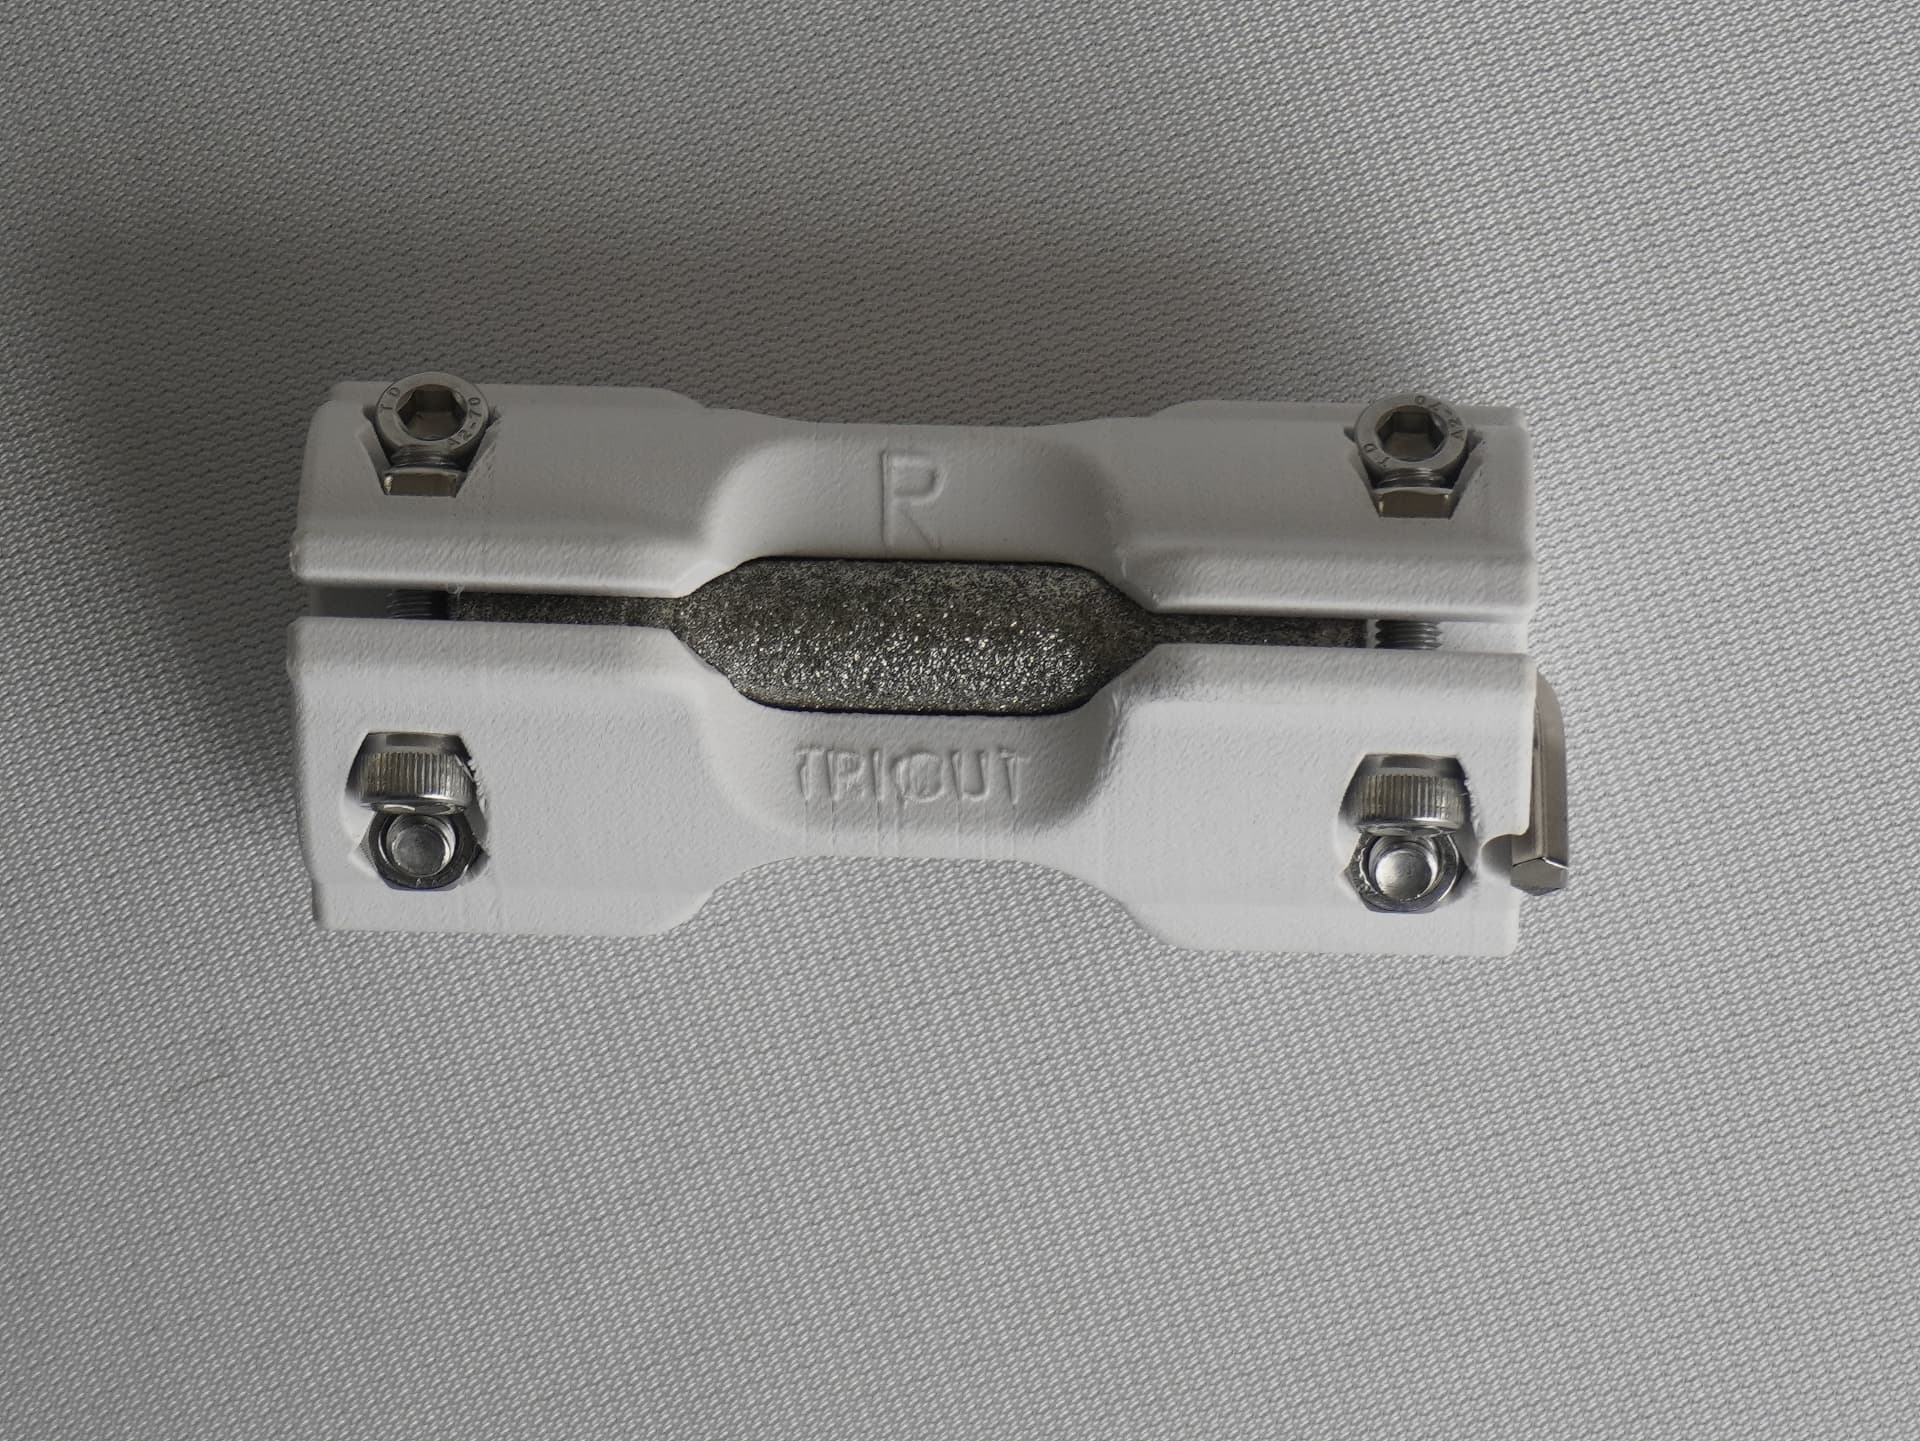
Tri-Cut figure skate sharpenerFigure · 5/8" ROH

Tricut Figure Skate Sharpener

For spins that blur and landings that stick.

A shallower 5/8" hollow lets the blade float through long, silky edges and carve clean tracings on the ice. Choose this for jumps, spins and footwork where glide and control beat raw bite.

Shop the figure sharpener

Instructions

Steps for use

  1. R

    Step 1

    Rough

    Wipe the blade clean, clamp the roughing side onto the steel with the T-handle, and run the tool end to end. Roll it off both ends every few strokes so the toe and heel get cut too. Keep going until you can feel a burr along the side of the blade with a fingernail.

  2. S

    Step 2

    Smooth

    Switch to the smoothing side and repeat the same motion. Work until the scratch pattern disappears and the groove reads as an even, satin surface. Leave the burr in place — it stays until the very last step.

  3. P

    Step 3

    Polish

    Spread a pea-sized amount of diamond compound on the edge and work the polishing side back and forth until the surface turns black. Wipe, repeat, then finish with the flat stone against the side of the blade to remove the burr and leave a clean, razor-sharp edge.

Two details that decide the result

Roll off the ends. Every three strokes, roll the tool off the toe and the heel. Without it the middle of the blade gets cut and the ends don't.

Feel for the burr. The roughing pass isn't done until a fingernail catches a burr along the side of the blade. That burr stays put through smoothing and only comes off with the flat stone at the very end.

Watch the process

From dull steel to finished edge.

See how the tool stays aligned to the blade while each side performs a separate stage.

The manual

Steps for sharpening

The full instructions from the Tri-Cut skate sharpener manual, step by step.

R

Step 1

Roughing

  1. Remove dirt and rust from the blade edge by wiping the blade with a cloth.
  2. Use the Roughing side (marked “R”) of the sharpening tool and insert the blade into the groove.
  3. Use the T-handle tool to snug the tool to the blade so that the tool can still be moved easily.
  4. Move the tool from one end of the blade to the other while applying slight pressure towards the blade.
  5. Repeat until a burr forms on the side edge of the blade, detectable with your fingernail.

Note: Roll the tool off the ends of the blade every 3 strokes so it also removes material there.

Note: Forming the burr edge is critically important to the final sharpening job.

Note: Rotating the rod helps prevent it from clogging and becoming ineffective.

S

Step 2

Smoothing

  1. Once a burred edge is created, switch to the smoothing side (marked “S”) and move the tool the same way as when roughing.
  2. Continue until the scratch marks are removed and a smoothed surface finish is achieved.

Note: The burr is to remain until the last step.

P

Step 3

Polishing

  1. Once all scratch marks are removed, move to the polishing side (marked “P”).
  2. Place a pea-sized amount of diamond polishing compound on the blade edge and spread it across the blade.
  3. Move the tool back and forth with slight pressure until the surface starts to turn black. Wipe off and add more compound.
  4. Repeat until the desired amount of polish is achieved.
  5. Use the rectangle polishing stone to remove the burr from the edge.
  6. Place the stone flat against the side of the blade and move it front to back to leave a razor-sharp edge.

Note: Wiping the compound away with a cloth reveals the polished surface.

Note: Removing the burr is the very last step — once started, the whole process must be repeated if the skates aren't sharp enough.

Note: New skates may have a rolled edge from die cutting; the stone may need a slight angle to remove the burr.

Before you begin

A clean blade makes a cleaner cut.

  • Dry and wipe the steel before clamping the tool.
  • Keep the sharpener square to the blade and use even end-to-end strokes.
  • Roll off the toe and heel so the full runner is treated.
  • After polishing, wipe the blade and remove the outside burr flat.
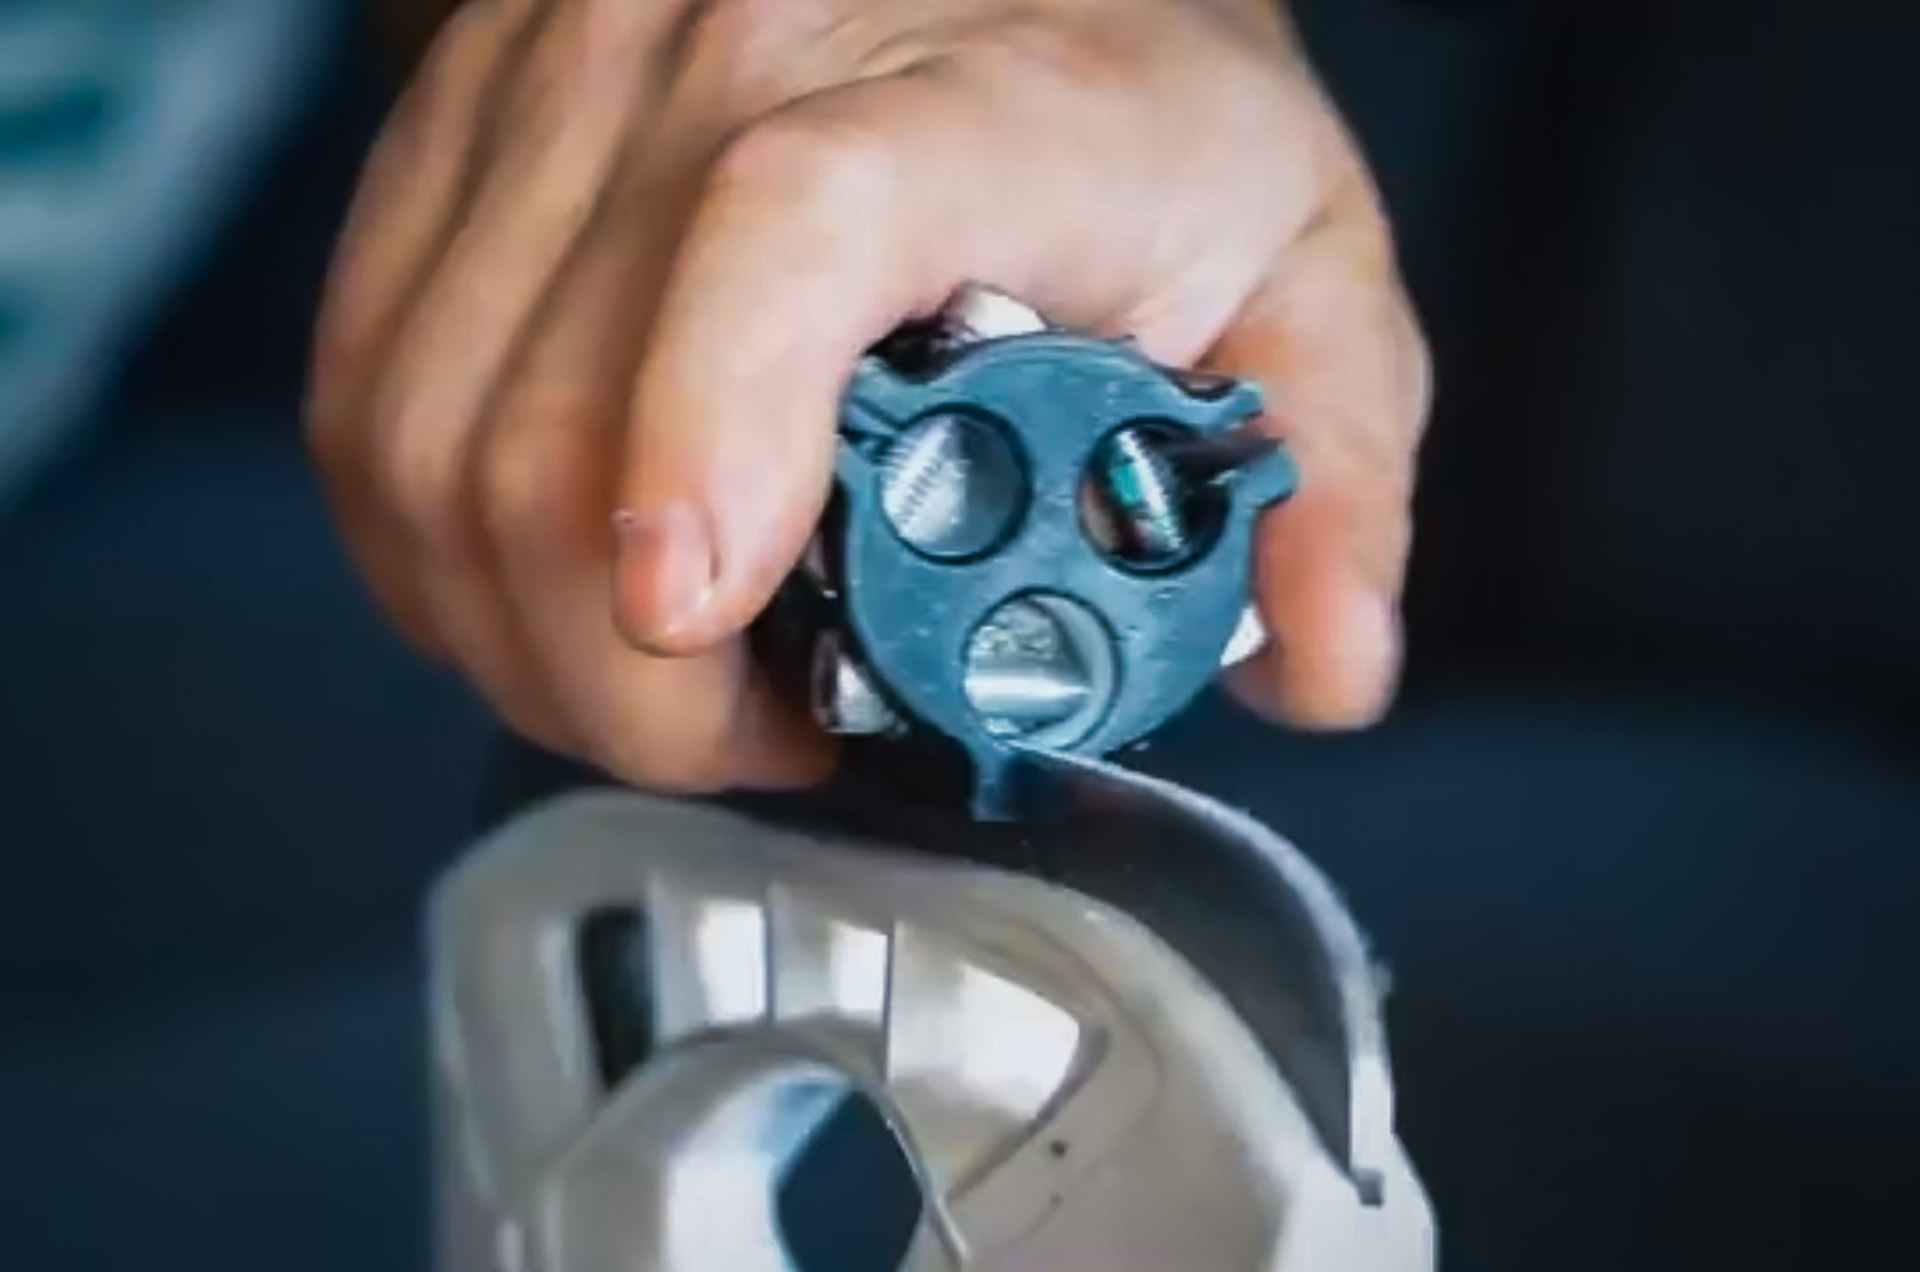
Tri-Cut sharpener aligned against an ice skate blade

The design

What’s actually in the tool

Three abrasive sides, one tool

Roughing, smoothing and polishing surfaces live in a single handheld body, marked R, S and P. No swapping heads, no separate stones to keep track of.

Diamond abrasives

The cutting surfaces are diamond, rated by Tri-Cut for hundreds of sharpenings rather than a handful of touch-ups.

Flat-bottom V profiling

The patented geometry cuts a flat bottom with a V, built for glide speed and edge bite at the same time.

7/16” and 1/2” ROH

Standard radius-of-hollow options most rec and competitive skaters already ride, cut by the tool’s own geometry.

Mirror-polished hollow

The polishing side finishes the groove to a mirror, which is where the ultra-glide and cornering feel comes from.

Fits in a glove pocket

Small enough to live in your bag full time, so a bad edge in warmups is a five-minute fix instead of a lost weekend.